Halloween crafts for kids
Halloween is just around the corner. While children are excited about the annual trick-or-treat walks, things are a bit different for this year due to the ongoing pandemic. However, they can still make it fun by creating DIY Halloween crafts for kids. Take a look at our fantastic collection of Halloween craft for kids that will entertain, and inspire children of all ages.
10 Halloween crafts for kids
1. Witch
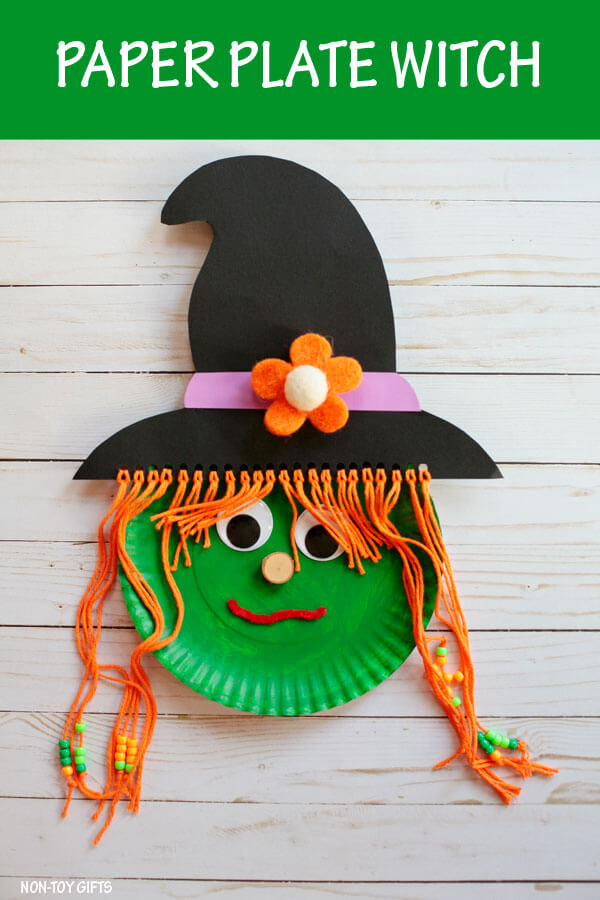
Try out this creative idea of turning a paper plate- into a DIY witch! This is suitable for kids of all ages as you would only need a few items. Make sure you put on those googly eyes to make your creation pop!
- Paint a paper plate in green.
- Cut out a witch’s hat from a black colored paper and glue that onto the paper plate.
- Cut out short and long yarns, glue them on to the hat with short ones in the middle and longer yarns on each side.
- Start adding the facial features: glue a pair of googly eyes beneath the short yarns and a thread of red yarn below the eyes onto the centre of the paper plate.
2. Q-tip skeleton
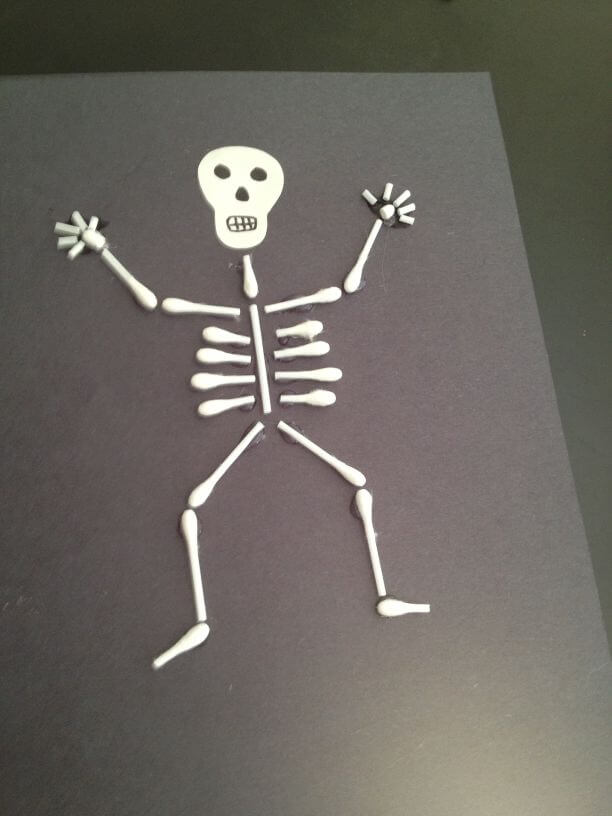
If you are looking for an easy and fun Halloween DIY to do with kids, you will love this q-tip skeleton! Make your own unique dancing skeleton from scratch as this craft is truly about creativity!
- Cut your q-tips in varying sizes, and glue them onto a black craft paper.
- Be creative and think of a new pose for your skeleton.
- Draw out your skeleton’s face on a white piece of paper, cut it out and glue it onto the head position!
3. Pumpkin mason jars
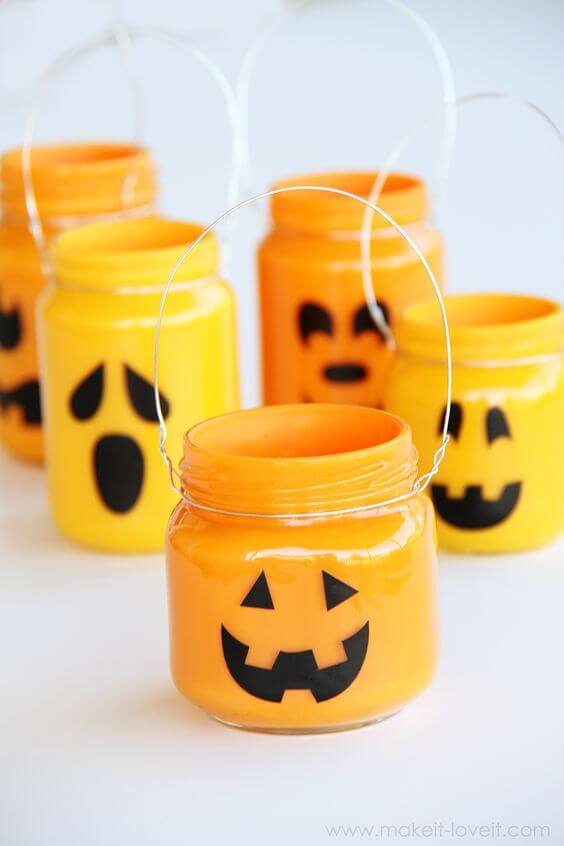
Do you have unused mason jars at home? If so, you can turn them into jack-o-lanterns without the use of an actual pumpkin!
- Obtain some mason jars and cover them in orange acrylic paint!
- Add the signature eyes, nose, and mouth with black paint!
- If you happen to have wires at home, you can also wrap them around the jar to imitate handles.
4. Witch’s broom
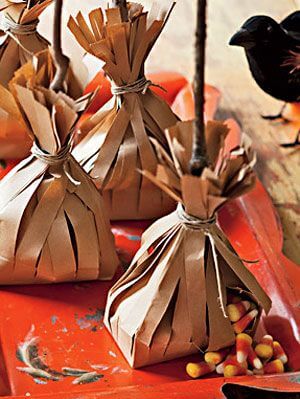
Doesn’t everyone love those magical, mysterious brooms that are able to shoot up in the sky? Now, you can make your own DIY witch’s broom in just a few minutes. To do so, you would just need two paper lunch bags, a wooden branch, and a twine.
- Cut one paper bag into narrow, long strips stopping at 1cm above the base.
- Cut out another paper bag only at the top edge into narrow strips.
- Place the second paper bag inside the first, and a branch inside the second bag.
- Wrap the twine near the top of the bags and twist to secure.
5. Spooky spiders
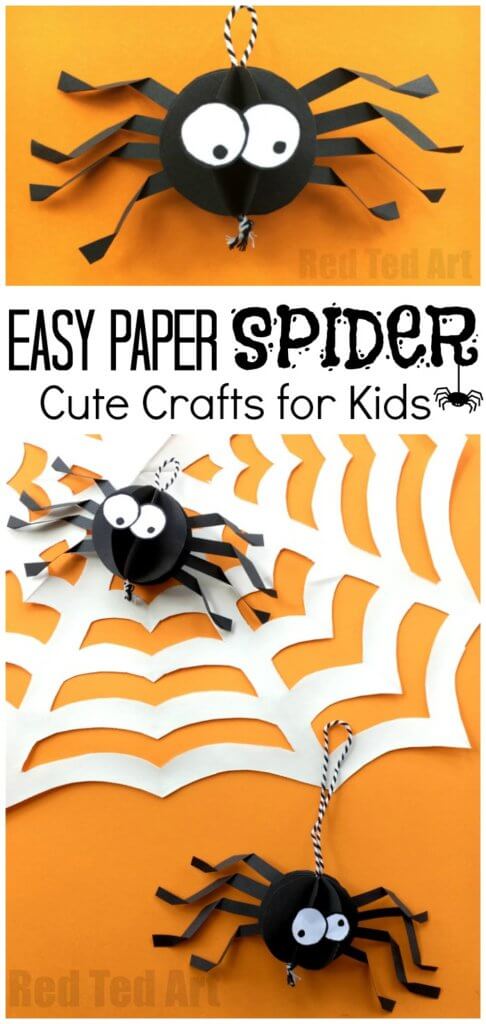
Spiders can be scary, but not when they are made by your very own hands. How can we celebrate Halloween without those creepy spiders aside? Check out the following steps to make your own spooky monsters.
- Cut out 8-10 small circles and 8 long strips that are the same size on a black colored paper.
- Fold each circle in half, glue one half of a circle onto another semi-circle. Press it down firmly to make it secure. Glue all of the circles together. These become the spider’s body.
- Take the strips and fold them 1/3 and 3/4 of the way long. These become spider legs.
- Glue all of the legs (4 on each side) onto the spider’s body.
- You can add eyes onto your spider too. Simply cut out two small white circles and draw a dot on each circle. Glue this to the spider’s body.
6. Toilet roll mummy
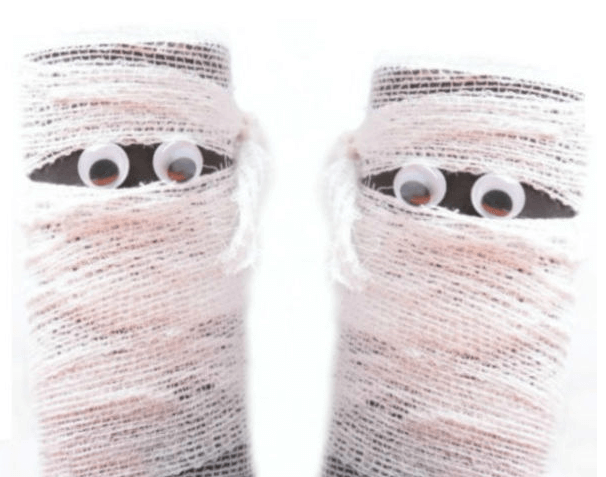
Have you ever thought about recycling those toilet rolls? Well, Halloween is the perfect time for these to be reused when you can easily transform them into mummies.
- Obtain some empty cardboard tubes from your toilet rolls.
- Paint them with black markers. Wrap the tubes with some white gauze (or toilet paper, but make sure you handle them with care!)
- Then, make the gauze secured by adding glue or tying it. Leave a small space on the ⅓ of the way long uncovered.
- Last, glue a pair of googly eyes or draw out your own mummy eyes from scratch onto the empty space from the tube.
7. Ghost garland
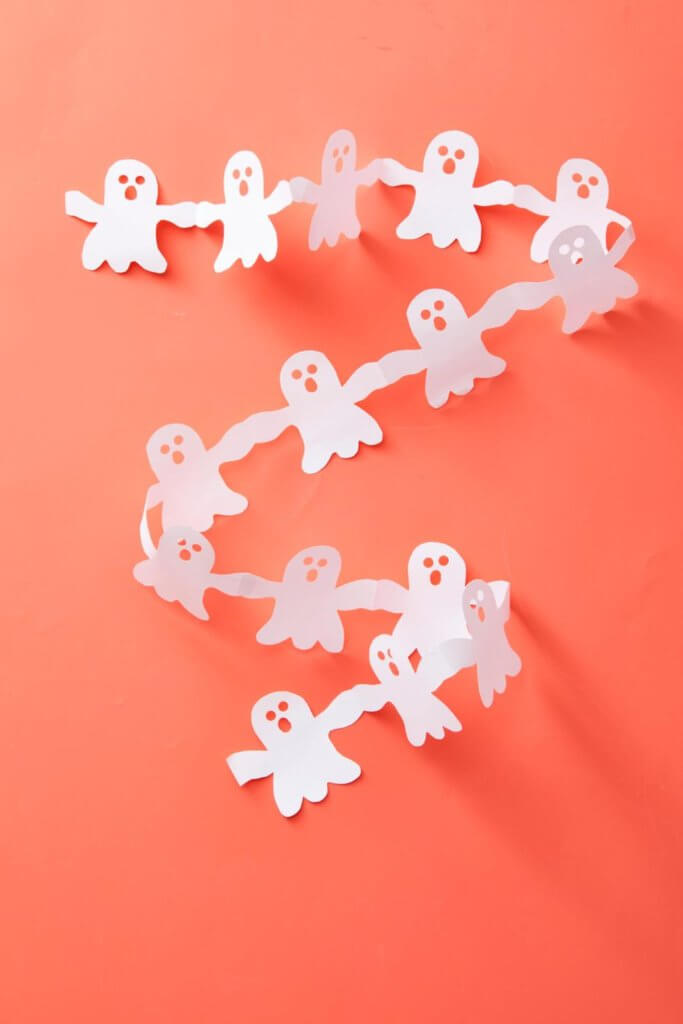
What is cuter than a line of paper ghosts holding hands with each other? Try out this exciting creation now that brings plain paper into life. Grab your scissors and start cutting!
- Fold a piece of white paper into thirds.
- Draw a ghost shape on the top surface and make sure the arms are connected on the edge of the paper. Cut out the shape.
- Repeat this step with another piece of paper to make it even longer. Connect the ghosts with clear sticky tape.
8. Bat garland
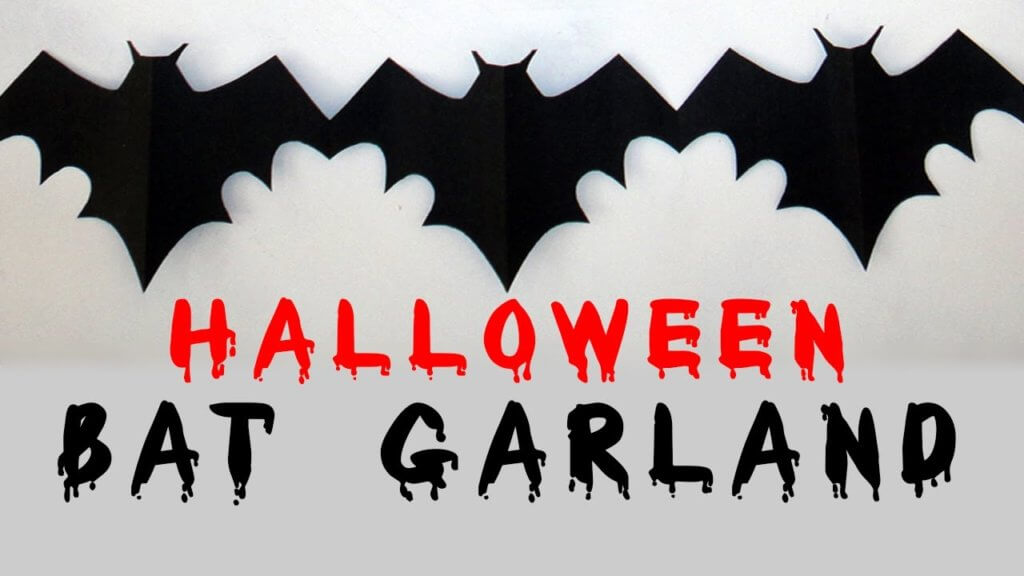
Just like the ghost garland, this bat garland can be a perfect wall decoration for this Halloween. Now you have learnt a money-saving technique as you can simply make your own ones!
- Fold a piece of black craft paper into thirds.
- Trace a bat shape on the top surface and make sure the wings are connected on the edge of the paper. Cut out the shape.
- Repeat this step on another piece of paper to make it even longer. Connect the bats with clear sticky tape.
9. Haunted house
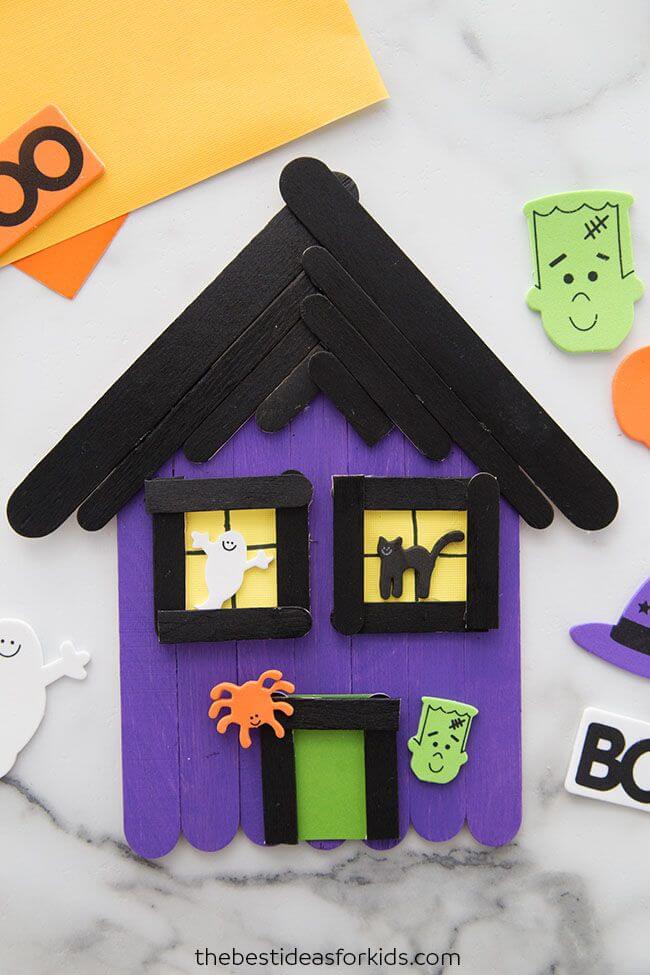
Having ice-cream or popsicles already as the weather warms up? Save these sticks next time so you can transform them into a quick Halloween craft.
- Align 6-7 jumbo sticks first. Take 2 more sticks and glue them horizontally so that all the sticks are secured. This becomes the base.
- Flip this to the other side and paint the sticks in purple.
- Cut your sticks into different lengths so they can form the roof. Arrange them in diagonals (shortest in the middle) and glue them onto the base.
- Get creative now. Stick on any decors as you would like. For windows and doors, glue the popsicle sticks onto coloured card stocks.
10. Black cat on hand
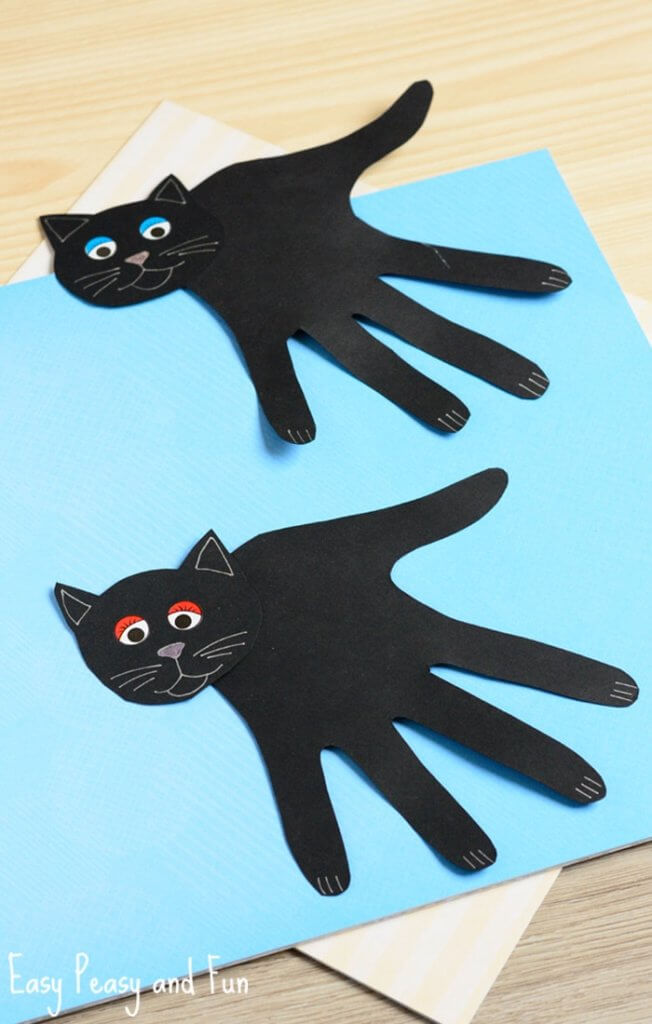
These little handprint cats are super adorable and fun to make by your kids themselves. What’s more satisfying than to see your own hand being featured in your own creation?
- Cut out a cat head shape on a black craft paper.
- Trace your hand on a black craft paper too using a black sharpie. Cut it out and glue that beneath the cat’s face.
- Use a light gel pen to draw out the whiskers and eyes of the cat.
- Draw the claws on your fingertips except for the thumb!
Start by experimenting these hands-on Halloween crafts for kids with your children before Halloween so the house can be filled with these spooky props by the end of October!
Interested in doing different science projects at home? Signup to InquiBox and receive a curated set of activities each month delivered to your home.


